Blog Catch Up: This really happened in June 2019, although the wording of the text makes it seem as if it happened today.
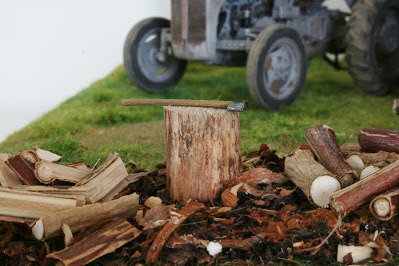
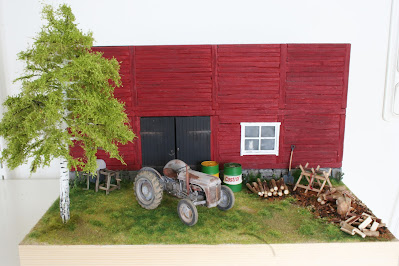
As shown in earlier posts I have built a Ferguson TE20, from a Heller kit. I have now built a diorama as a place to show off the Fergie. The scene is a farm yard right outside a barn. The barn is shown as a single wall, built in a typical Swedish 1800 or early 1900 fashion, but having survived in to the late 1900:s. All items, excpet the Fergie itself and the spade, are scratch built. And yes, the cat is a photo 😊
The tree is a wire armature tree. There are a lot of descriptions on the net of how to do those, but here is a brief walkthrough of how I tend to do it. Maybe some of you have not seen this before and find it useful.
I start out with a wood skewer which I cut to suitable lenght. I leave a piece that will be used to secure the tree in place in the "ground", and then start to wrap the skewer with floral wire. You can use any wire you have handy. Every now and then I let the wire do a loop, before I continue wrapping the skewer (step 1 below). You add a loop wherever you want a branch. Next I cut the loops open (2), and then twist them into the beginning of a branch (3). I then cut a piece of wire and bend it into a V-shape, and twist that piece to a branch so that it all forms a branch that divides once more (4).
When you are done you have a tree like the one to the left below. I then add various compunds (spackel compound and/or PVA glue and likewise) to the stem and inner parts of the branches to give them a little more structure and hide the wire pattern. A tree after this kind of treatment is shown to the right below.
n this case, a birch tree, I painted the tree with white and black colors (left below). Next I add static grass fibers. These act as smaller twigs and as a place for the leaves to eventually sit. I used 10 mm fibers in this case. To attach the fibers i spray the tree with hair spray, and then sprinkle the fibers on to the tree. You need to spray and sprinkle not only from the top but from the sides and the underside as well in order to get fibers everywhere you need them. After this step your tree looks as in the middle picture below. The final step is the leaves. Using the same hair spary technique I sprinkle on Noch leaves. In this case l used light green leaves, for a birch in early summer. Final result to the right below.


No comments:
Post a Comment