Monday, March 8, 2021

Building a Hitachi Zaxis 135US Excavator - Part 2

Blog Catch Up: This really happened in October 2018, although the wording of the text is as if it happened today.

Progress has been slow but at last the cab is all done. Here are the parts, ready for assembly. 


I tried to tint the glass for the windows and as can be seen above I think I got the color fairly right, but the it did not flow as it should. The result is glass that is sort of uneven as can be seen in the pictures below. I think the problem was that I diluted gloss medium with water, which contrary to my intenstions, raised the surface tension of the fluid, and prevented it from flowing evenly on the glass (plastic). I take it as an learning experience for next time.

Anyway, here is the assembled cab. The windows actually look better in real life. As always the camera is unforgiving.

Building a Hitachi Zaxis 135US Excavator - Part 1

Blog Catch Up: This really happened in Septemeber 2018, although the wording of the text is as if it happened today.

This is a kind of experiment. I have not built a plastic kit in, I guess, 45 years! And I have always dreaded taking on air brushing. But now I have decided that it is time for some changes in both these departments. So I have started to build a Hitachi Zaxis 135US Excavator. A 1:35 scale kit by Hasegawa. No, I'm not into construction or civil engineering and thus do not know more than any ordinary citizen about excavators. So why an excavator? I assume I just found this modell to be cool.


As I already said, airbrushing has not been a favourite of mine. Throughout the years I have made some attempts but only ended up with clogging and every other possible mishap. This time however, I have decided to make a more serious attempt. So far I have at least learned to not be outright scared by the airbrush😀

Regarding the kit at hand, I have put together the major sub-assemblies and given them a coat of primer. Like this:


Yes I know, the primer is a little thin on the orange parts. But this will have to do. There will be other layers of paint on top.

Saturday, July 14, 2018

Finalized

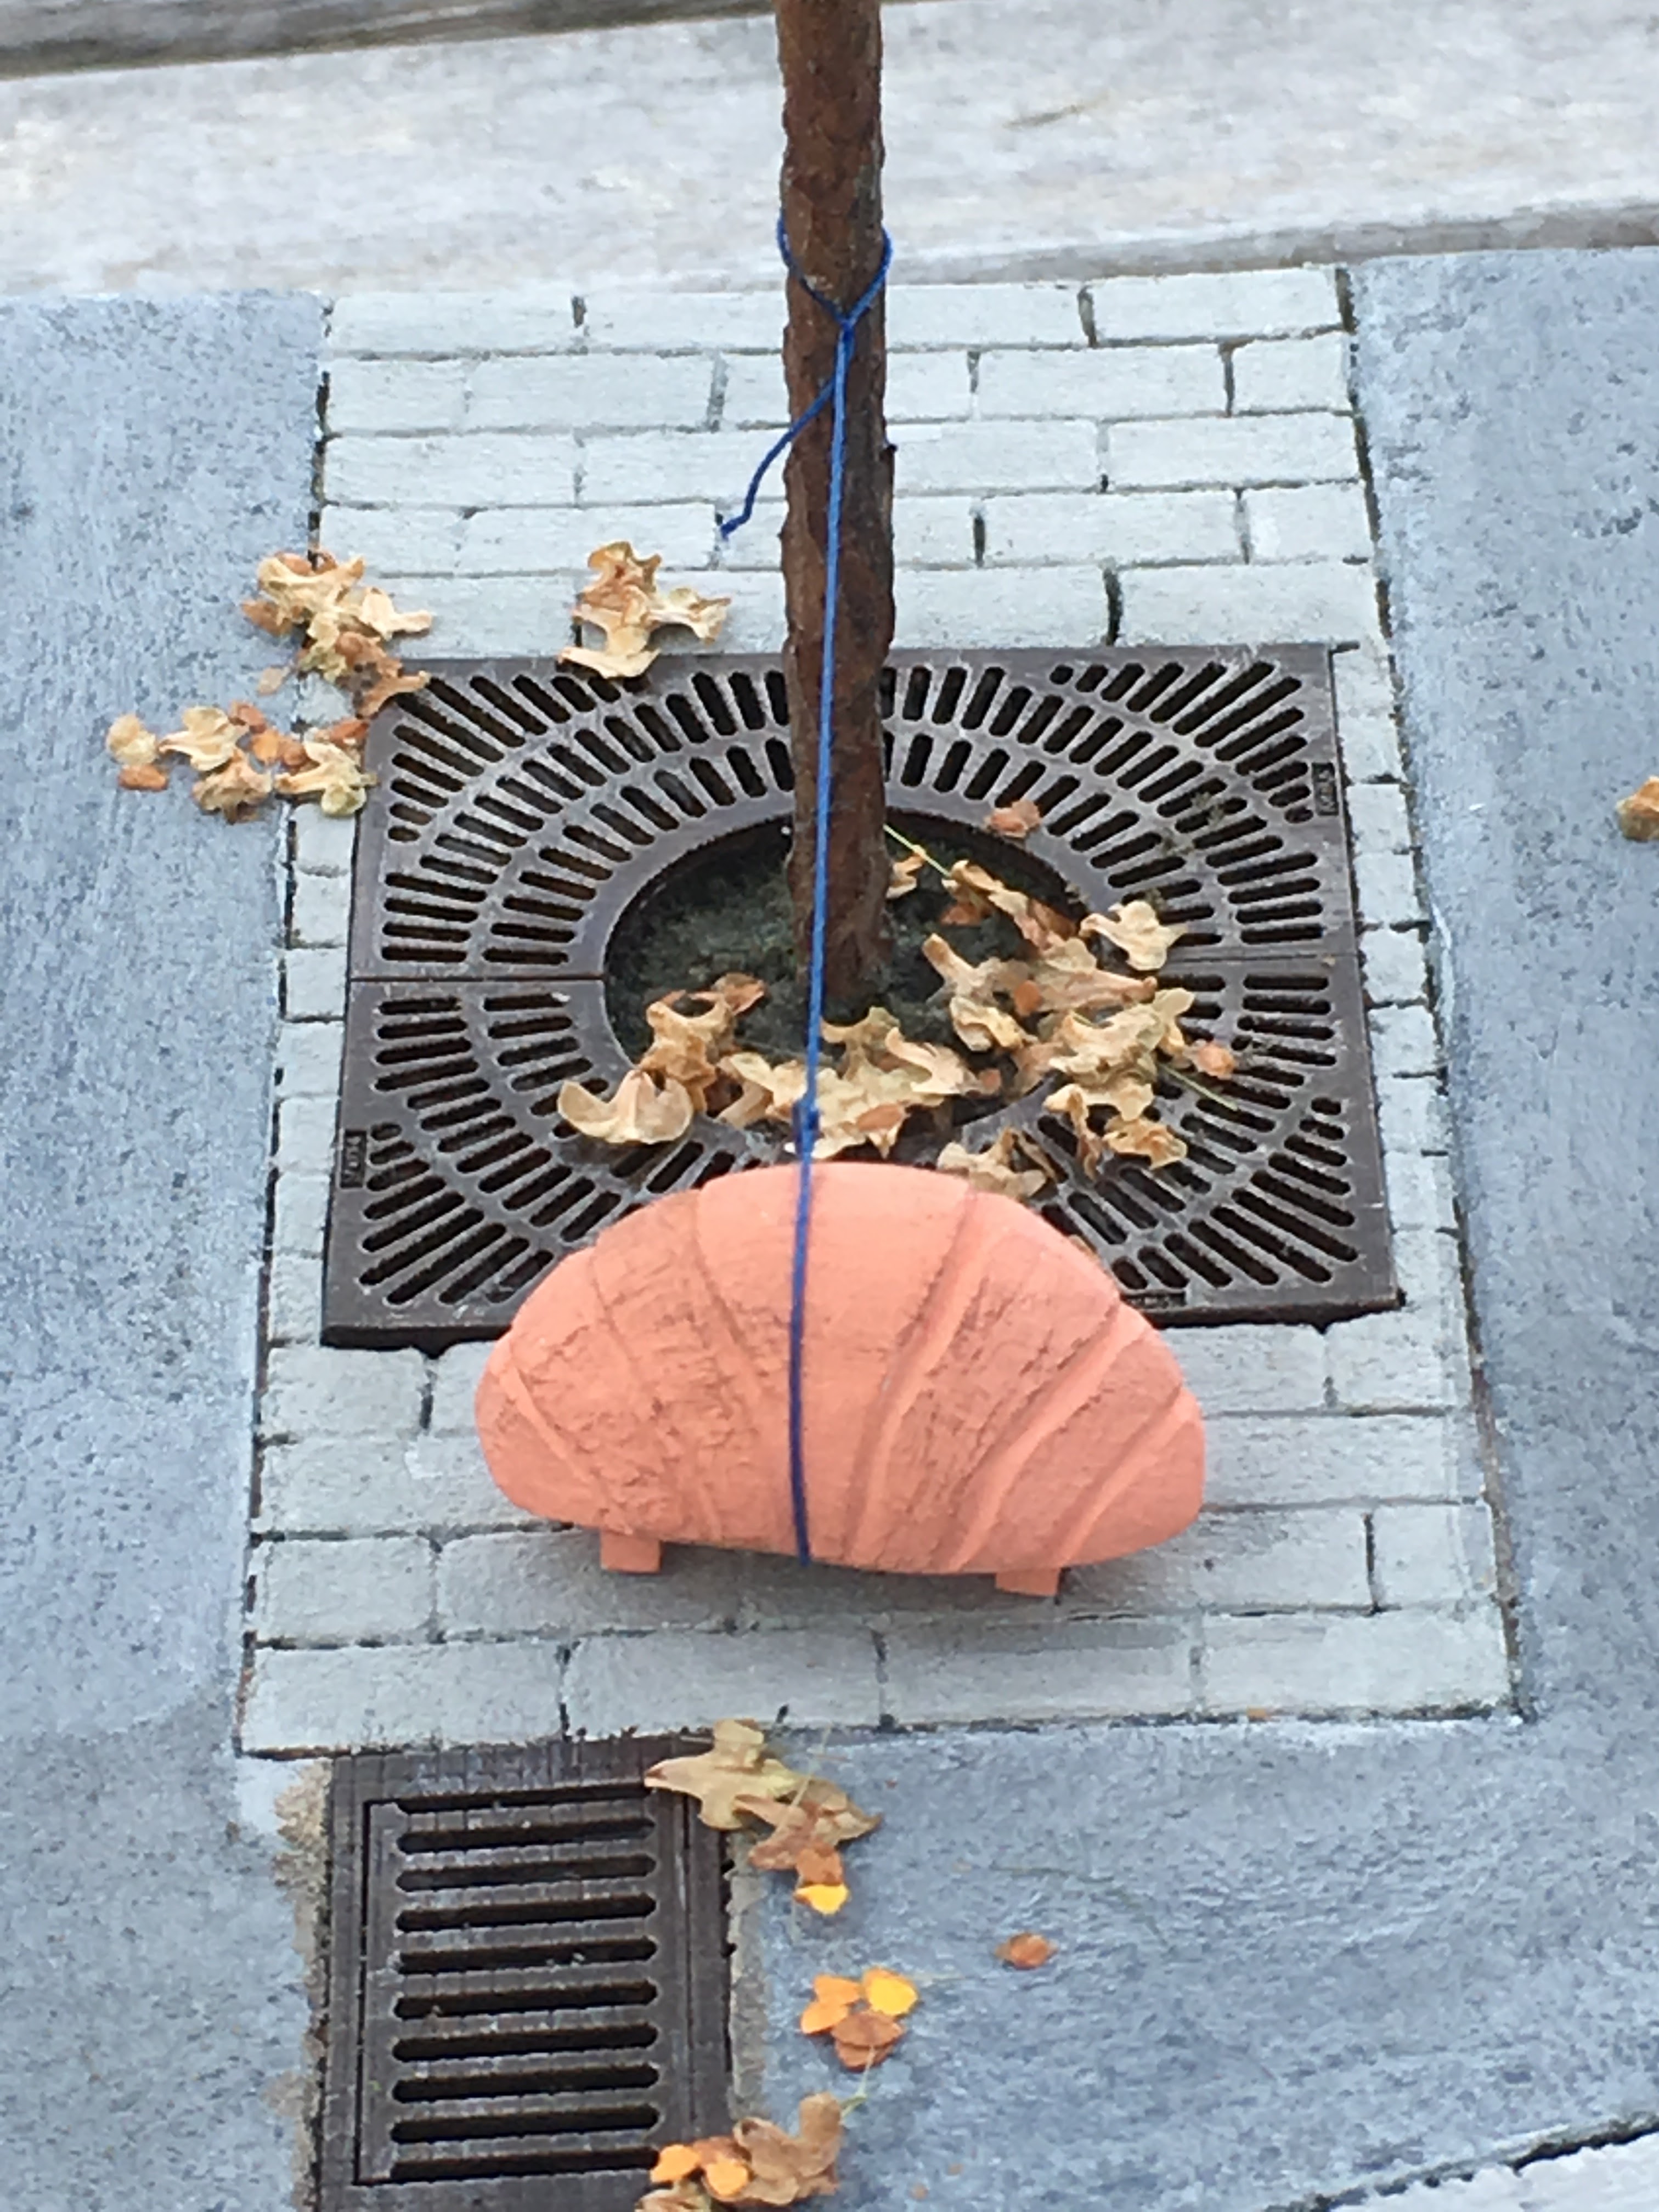
The "slug" diorama has been finalized. Here are some pictures.


Below, the name of the company that manufactured the iron tree grates, "Buderus", in 0.5 millimeter high letters.


Late date addition - some "studio" shots I found.


Friday, July 13, 2018

A No Parking sign, and some 3D printed items

Yesterday I built the No Parking sign that sits in front of the wall and the fence.

I found graphics for the sign itself on the Internet, including the smaller additional sign with a dummy company name and telephone number. I substituted those for the real name and number using MS Paint and Power Point. I printed the sign on ordinary printing painter and glued it to a piece of styrene.


The post is a length of 2 mm brass tubing.

I tried to model the back of the sign as well, with the appropriate hardware that fixes the sign to the post.


Painting of the post and the back of the sign remains to be done.

Yesterday I also received the 3D printed tree grate and storm drain. Here they are, as received.


Wednesday, July 11, 2018

A fence ... and sprinkles

As can be seen in the background of the picture below (which is was the first picture in the first post about this diorama) there is a fence along the low wall.


So, I needed to model a short stretch of that fence. I used 1.5 mm brass tubing for the posts and the railing. The railing is not directly attached to the posts, but with L-shaped brackets. I used short pieces of 0.5 mm phosphor bronze wire for the brackets. The pictures below show the brackets soldered to the posts...(before the brackets have been cut to length)...


... and the railing soldered to the brackets.


The real-world fence has the ends of the posts and the railing fitted with some kind of balls or globes. I had some difficulties finding anything suitable for my fence. I.e. something round and sufficiently small. Finally I realized that I could use round sprinkles, the kind you sprinkle on ice cream! 😎


This picture shows the fence with sprinkles glued on. Yummy!


And finally, the fence painted black and installed on the diorama.


An autumn tree and a storm drain

A tree for the new diorama.


I made it an autumn tree since I wanted some variation from most other trees I have made. But also because I wanted to test out this product from Green Stuff World which I bought some time ago.


As you can see they call it "leaf litter". I think they mean that it shall be use to model leaves that has fallen to the ground, but I think it works for autumn leaves still on the branches as well.

I have also done some more painting and weathering on the diorama proper.


The large black rectangle is where the tree grate and the tree will go. The small one will be covered by a storm drain, which is being 3D printed along with the tree grate. The drain is rendered like this.


Monday, July 9, 2018

Walking the slug

My eldest son happened to spot this thing in one of Stockholm's southern suburbs.


What is this? A tree taking its armadillo-dog for a walk? Or is it a giant slug? Anyway, I though it could be fun scene to model.

The first thing I did was to do the orange creature itself. I made it from modelling clay, and it turned out like this.


Next I had a look around in Google Street View since I wanted to learn a little more about the closest surroundings. Here is an example screen shot.


Note that the protective fence around the tree closest to the "slug" is missing in the first (most recent) shot. Apparently it has been removed since it was doing no good anyway.

I also used Google to try to understand the back story. These are different photos of the same location but from different dates. The first photo is from 2011. It shows that the tree was surrounded by a protective fence.
 
The second one is from 2017. By then the fence has been knocked over, probably hit by a car, and the tree is supported by a rope fastened in the fence. I assume the "slug" has been placed in front of the tree to protect it from being hit again. Kind of innovative to paint it in that colour. I like that.
 
The last photo, taken by my son in 2018, shows that the fence is gone and the tree is instead supported by a rope tied to the "slug". I wonder if  it is a local resident who has taken pity of the tree, or if this is really the cities official way of dealing with the situation?


With the help of the photos I then started on the diorama itself.


I have also made a 3D model of the iron tree grate, which I have on order for printing. The grate is made up of 4 identical parts. The part is rendered like this.


That is the status as of today. Please stay tuned 😃